Preparing a flash drive full of "zim" files
Wikipedia is over 100GB, for just the English version. The MicroSD Card that you created for the Raspberry Pi is likely not big enough to store it, an in fact we’re not generally going to use that SD card for storing application data for a number of reasons. It’s mostly just for the operating system.
Raspberry Pi storage can be expanded by plugging any storage device into one of it’s USB-A ports. That could be a flash drive, or a full sized hard disk. Our plan here for Wikipedia is to use a a USB flash drive) (sometimes called a thumb drive) that we prepare using our dev computer and just plug in.
If you’re part of a local group running a LoRes Mesh, you might want to prepare several of these in advance, and hand them out to the Node Stewards of each node. You could have a process for updating them every three months or so.
Formatting your flash drive
Your flash drive almost certainly came ready to use with the FAT32 filesystem, which is preferred by Windows, and supported (tolerated) by Linux and macOS.
That isn’t the best filesystem for our purposes though, we’d like to use ext4. Plug the flash drive into the USB port of you dev computer, and let’s get formatting.
There are lots of ways to format a drive in Linux, but if you’re using Ubuntu, you can launch the app called “Disks”, which is actually the Gnome Disk Utility. THis should show your flash drive on the left (make sure you select the correct drive) which likely has a single big partition of the FAT32 filesystem, such as in the image below.
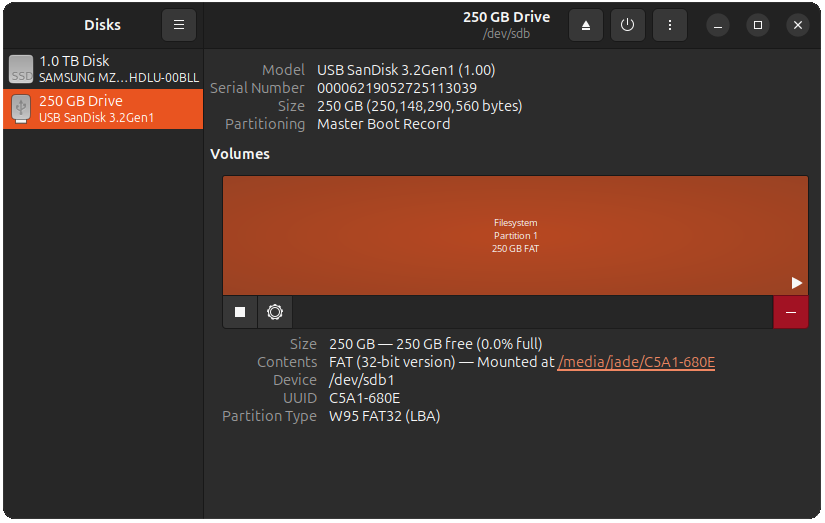
Gnome Disk Utility showing a 250GB flash drive with it’s default FAT32 partition
If you’ve already used it, it may have other partitions. In either case, clock on the red - (minus sign) button and delete this partition. Now your volumes display should list 250GB free space.
Press the + (plus symbol) button to create a new partition, make it the full size of the free space. On the following format screen (below), let’s give the volume the name zims (because we’re going to fill it with the “zim” files used by Kiwix), and chose the “ext4” filesystem as the type. Then go ahead and press create.
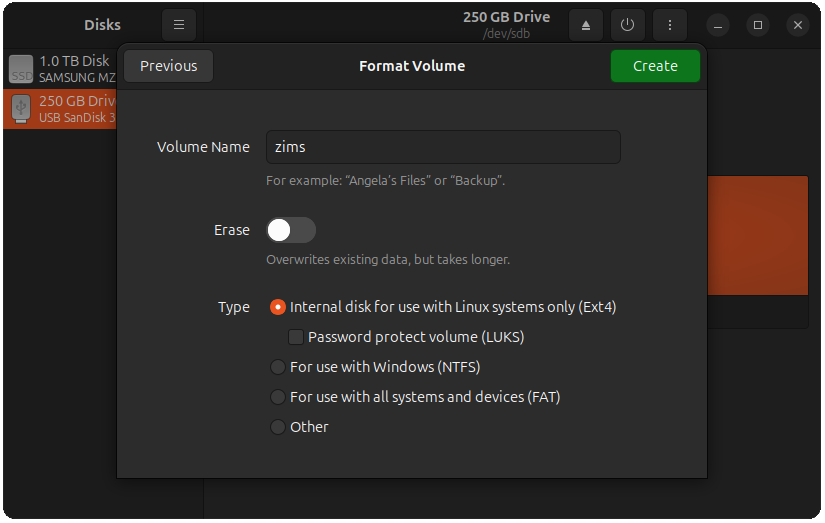
Gnome Disk Utility format volume screen
Downloading Zim files
Kiwix works by packaging up all the text, images and other content that makes up a website into a single archive file that ends with the .zim extension. The Kiwix folks regularly create new versions of these files for the sites they support.
You can browse all the available zim files on the Kiwix library page. Choose whichever files you like, perhaps including the wikipedia all articles file for your chosen language.
Once you find a file you want, you can click the “Download” button. A pop-up will appear where you can choose “Direct” to download the file directly from their server. If you’re familiar with BitTorrent though, it’s more community friendly behaviour to use that, perhaps by clicking the “Magnet link” option and using your BitTorrent client of your choice, such as Transmission.
Once you’ve done that, copy these zim files onto your flash drive. Don’t bother creating any directories or anything, just put the individual zim files directly onto the drive.
You can choose however many zims you want, but ensure that there is at least one of them on the drive before moving on to the next step.